The Jolly Sister celebrated her 50th birthday this past weekend!
Since she has an October birthday (as do I),
I thought a Halloween-related gift would be nice.
I saw these cool personalized pumpkins at Aaron Brothers...
I thought a Halloween-related gift would be nice.
I saw these cool personalized pumpkins at Aaron Brothers...

... but they were pretty pricey.
And since I am the self-proclaimed Queen of Halloween...

... I knew I could figure out how to do the pumpkin myself.
Although I could have used a real pumpkin, I decided to go the Funkin route.
Btw, the Sweet Man had never heard of "Funkins" before,
and decided that it sounded more like a disease than an artificial Halloween gourd.

Seriously, y'all, wear your flip-flops in the shower. You don't want a case of Funkins.
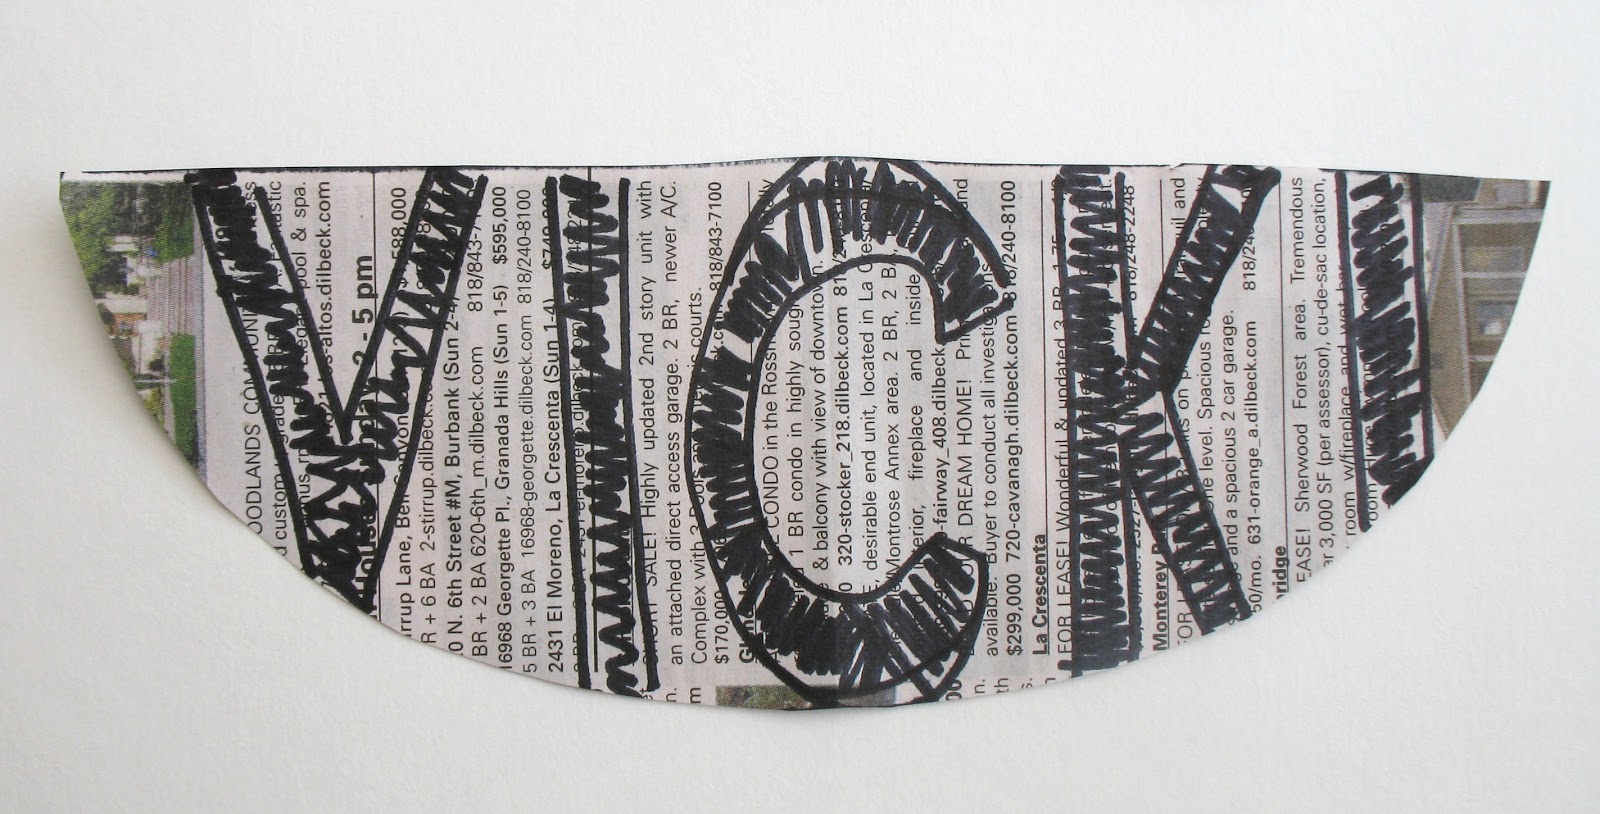
I used newspaper for my template; it's floppier than regular paper,
and molds better to the pumpkin.
I cut out a smile, and fit the letters of the Jolly Sister's name into it.
Once I was happy with the smile,
I taped it and triangle eyes and a nose to the pumpkin.

The latest batch of pumpkin carving patterns included this nifty tool...

... which made it easy to mark the lines through the paper.
Aaaaand, it wasn't until I found the Aaron Brothers photo above that I realized
I had switched up the carving area.
The ones I had seen removed the area around the letters,
I removed the letters themselves.
So if you're going to do one of these,
decide beforehand what you're removing and mark accordingly.
Anyhoo, I started cutting.
I thought I could just used the tools from my regular pumpkin carving,
but that styrofoam was too tough.
Instead, I settled on scoring/starting the lines with a craft knife,
and then using one of the heavier duty carving tools.

(The green carving tool came from the Pumpkin Masters "kid-friendly" carving set.)
Protip! If you haven't carved one of these fancy pumpkins before,
make sure carve out the letters a section at a time.
If you try to do it in one piece, you might have crucial bits crack off.

After I was done, I realized the letters didn't look "smiley" enough.
I now realize, duh, that's it's because I cut out the letters instead of the grin.
But, bygones!!
I handled it by carving a little triangle at the corner of the smile,
to give it more definition.

Time to light 'er up!
Now, you CANNOT use a real candle in these, y'all.
I found a strobe light with the Halloween stuff at Target...

...and it fit perfectly.

Once done, I set the Funkin among its gourdy brethren...

... and was pleased with the results.
And there you go!
A fun gift for those with October birthdays,
or a cool decorating idea for a Halloween wedding,
or a neat photo prop for a family photo.
So, get carving!

Thank you for the fabulous, one-of-a-kind gift. It took three of us to remember how to turn off the light, but that's probably a by-product of turning 50.
ReplyDeleteHey, as long as you remember what a fork and knife are, and what they're for, you're still good, right? ;)
Delete