A couple years ago, I made some Christmas bunting for my Etsy store that I thought was
HI-LAR-I-OUS:

Get it? Because at Christmas, sometimes you're Merry
but sometimes you're just Meh.
However, the buying public at Etsy wasn't as interested, and I think I sold a whopping...
...zero.
But, yay! Someone contacted me for a custom string of this bunting,
with an interesting idea.
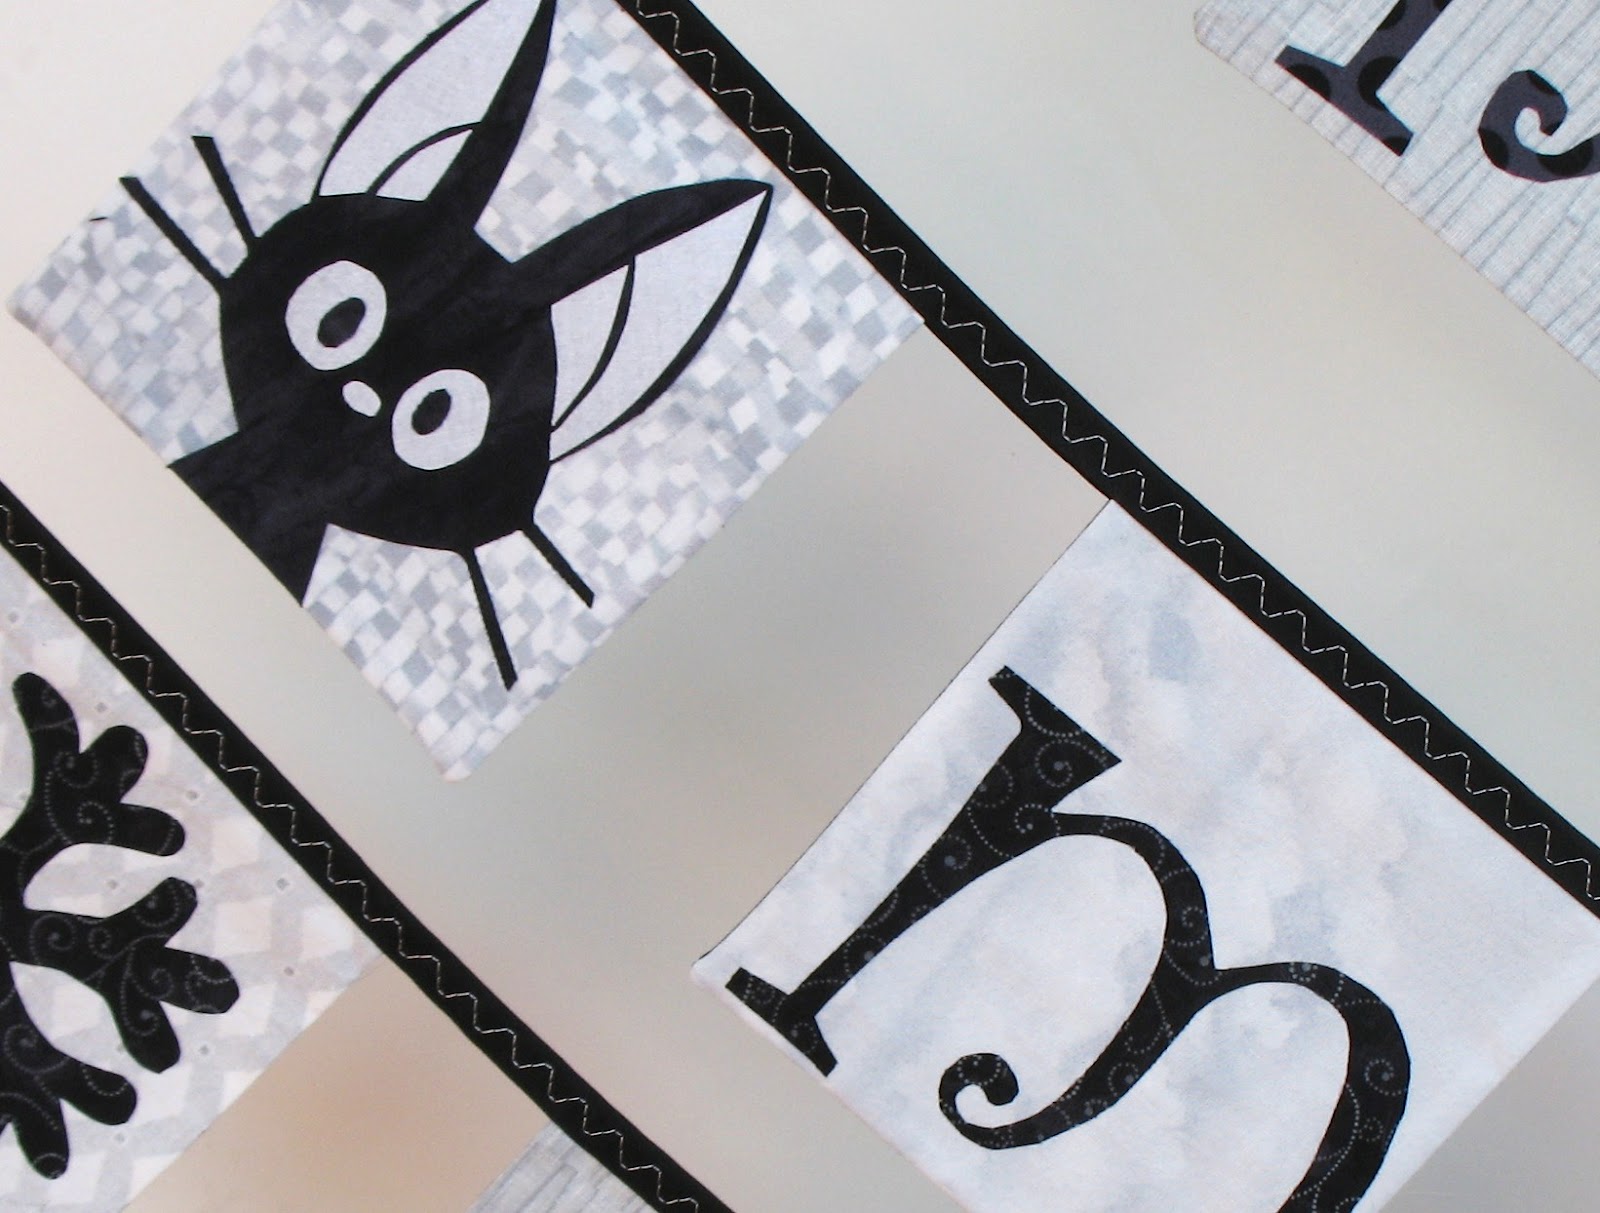
Instead of Christmas bunting, she wanted something anime/chibi.
We agreed that the delightful Jiji from Kiki's Delivery Service would be perfect.
So, would y'all like a tutorial on how to make bunting?
You're in luck, because I'm in a tutorial-making mood!
What You'll Need
HeatNBond, UltaHold
fabric
thread
extra wide double fold bias tape, 1/2 package
sewing machine, rotary cutter or scissors, etc.
Instructions:
The finished squares will the 6" x 6", so the images need to fit inside this.
I printed out the letters in Curlz MT*, and since the images need to be flipped,
I turned the paper over and traced the letters on the back.
*I know some people find Curlz unbearably twee, but I like it. Sue me.
I also use Comic Sans on occasion, Haters!!

I put my traced letters under the HeatNBond ULTRAHOLD, and traced the letters onto it. Following the instructions I bonded the HeatNBond letters to the back of the black fabric.

I did the same with a Jiji graphic I found, and then carefully cut them out.

The white is layered on the black, btw. It was pretty easy to do.
Next, I cut five each 6 1/2" squares of the different gray fabrics
and the backing, black fabric.
(You need the extra 1/2" for the seam allowance.)

Tip! Check the back side of fabrics.
You can see that this busy fabric wouldn't work as well as its back side does.

I bonded all the letters and Jijis, making sure I liked the ending placement of the fabrics.
See? It's busy-plain-busy-plain-busy for the gray squares.

I made sure I didn't go into the seam allowance, except for the bottom of Jiji.
If I made him "float" above the bottom, he would have ended up looking decapitated.
So I lined up the bottom of the image with the actual bottom of the raw edge.
To sew, I put the black and the decorated squares face to face, and sewed down the left, across the bottom, and up the right. The TOP should be open.
I turned the blocks right side out, and ironed them.
I use a big fat knitting needle (size 15) to poke into the corners, to make them square.

I could make my own binding, but I'm lazy. I buy this stuff, instead.
For this project, I only needed half the package.

The inside cardboard works very nicely for the next part of this project. For longer strings, I use it as is, but for this project I trimmed it slightly down to 2" wide.
After ironing the binding (on medium heat -- it's polyester) I put a pin at the mid-way point.
I did the same with the middle letter, and eased it up between the two folds.

I then went to the right and the left, using my cardboard guide to pin the other letters.

Time to sew! I like to use Sulky rayon thread and a serpentine stitch.
It's pretty easy to make the squares nice and straight up in the binding.

Finished!!

I think Jiji would approve.
No comments:
Post a Comment