Showing posts with label gardening. Show all posts

Sunday, August 11, 2013

Sprinkler Two Boogaloo

So after my sprinkler travails, I was ready to plant, right?


WRONG!

The dang things were all wonky and sputtering and not all of them would turn on.

Sigh...
I blamed the controls, which the previous crack-heads house-flippers
had buried in a hole at the bottom of my hilly yard.

To replace the controls, I spent an afternoon crouched over a small, muddy hole
earning myself a tramp-stamp sunburn...


as I clawed at the dirt like Andy Dufresne and his five hundred yards of poo, until...

SUCCESS!


I finally got the thing uncovered!


NOW I was ready to replace the controls and get started planting, right?


NOPE.

Because the next day, after I turned off the water and cut out the old controls...


the water kept trickling out of the open pipes.


Augh!

I couldn't glue the new controls in,
AND I couldn't turn the water back on for the house until I could get the water stopped!

After unsuccessfully trying something out from the internets,
I plodded across the street to ask my neighbor his advice.

(I have found with projects like this that dudes over sixty are an invaluable resource.)


He said there was a tool I could buy that would help me turn off the water at the street,
and  he was indeed right.


So I turned off the water at the street to the whole house,
because the flippers, with their cheapskate ways, 
had not put in this simple sprinkler shut-off:


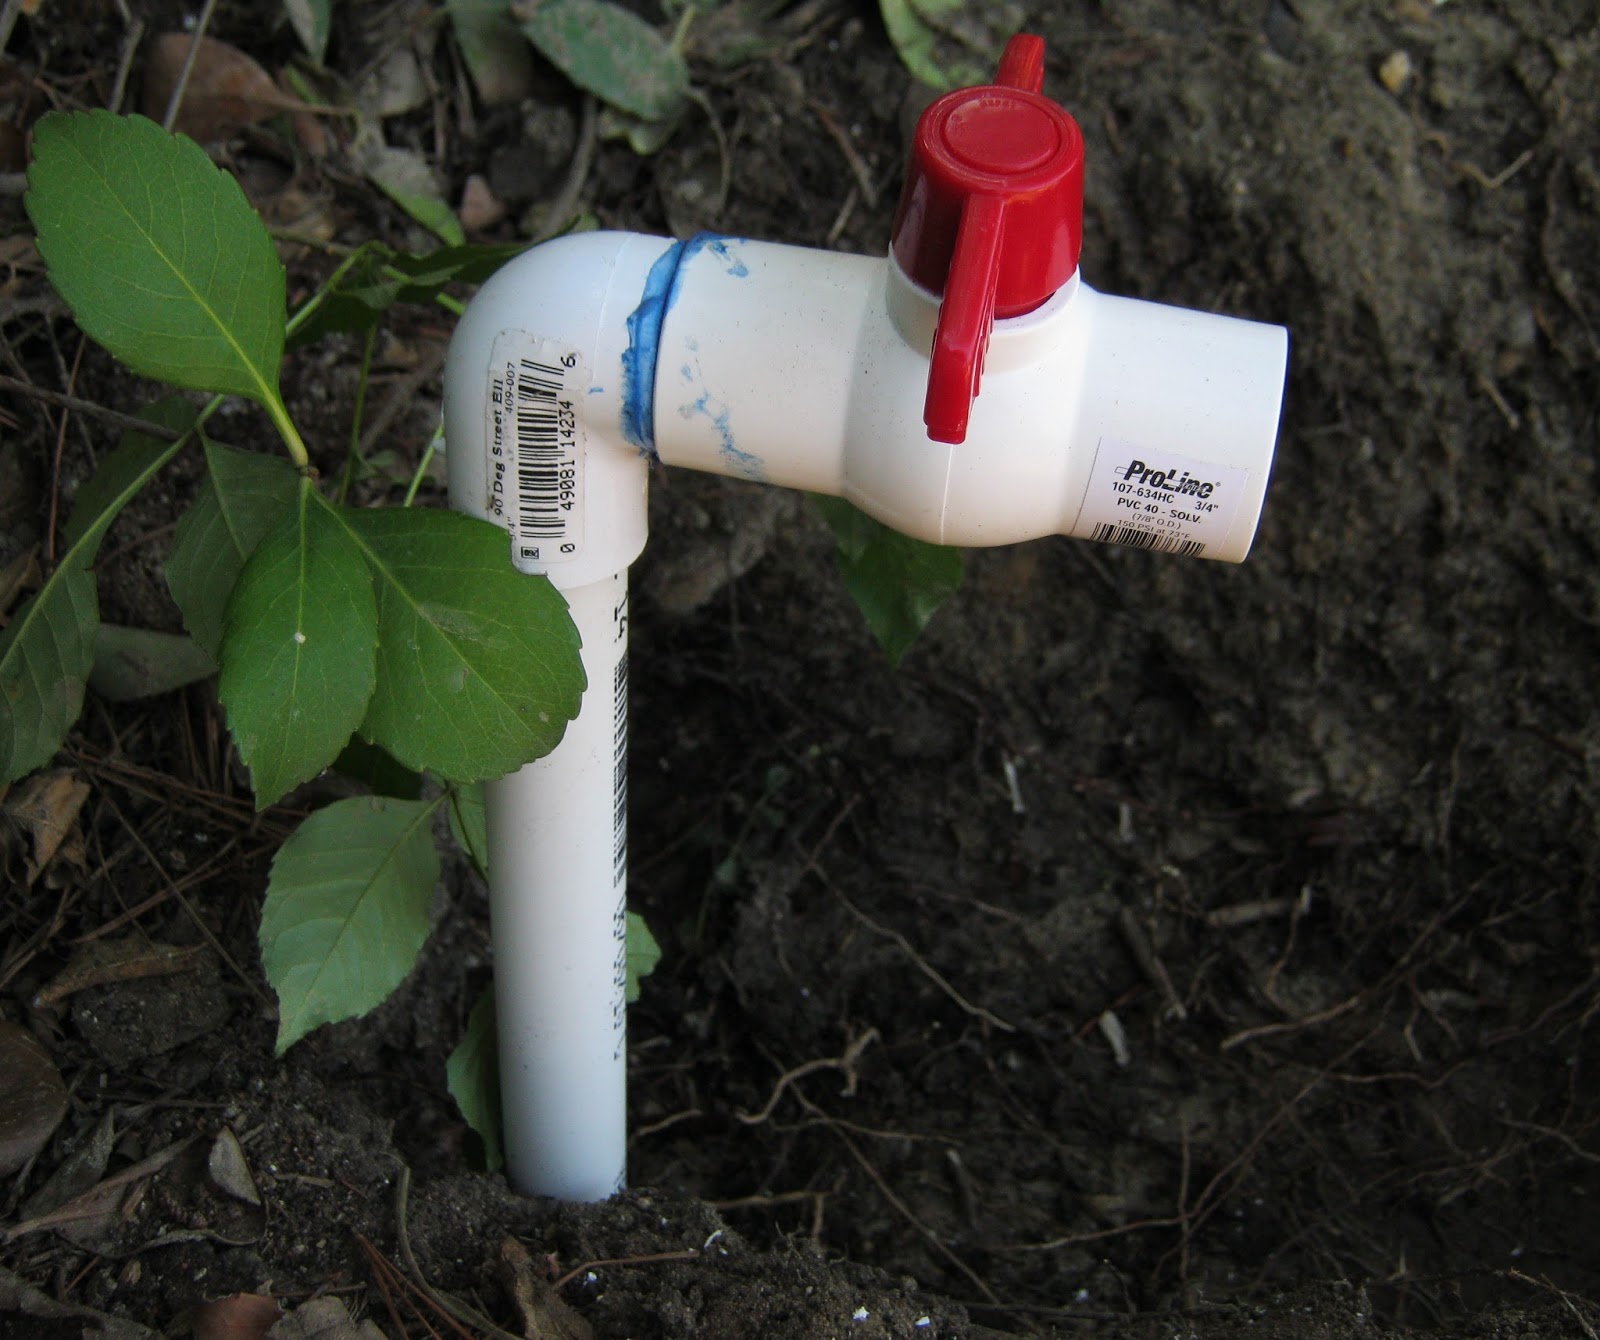
Yes, for the price of a vente Starbucks, I could have avoided all this water DRAMA.

But I ponied up the four bucks, attached the shut-off,
turned the water back on for the house and left it to dry overnight.

Time to plant yet?

Noooo, I still had to install the NEW controls.

The next day I got up and blee blah bloo I'm dying from the boredom of this story
I started figuring out the configuration of pipes so that the controls would be
above-ground, not below-ground.


This part was actually pretty fun. It's like I was playing with big ole TinkerToys.


Though I had one horrifying moment, when I accidentally touched THIS guy:


EEK!

The end results were all convoluted and reminded me of the old "Pipes" screensaver...


But I did it!


I filled up the hole with sand and gravel, 
and got to planting!


After three days I only transformed about a sixth of the yard,
and the state of my nails (after two days of scrubbing) 
may lead to me having to turn in my Girl Card...


... but I'm one step closer to a low-water, lawn-free yard!


Woo!

Saturday, October 6, 2012

A Bit O' Sunshine

I know I haven't been posting lately;
work has been soul-crushing  challenging, so my focus has been elsewhere.

But I did snap a picture of some beautiful sunflowers
that just bloomed in my garden:


Aren't they gorgeous?
I love their lemony yellow color.

I keep reading about "second plantings" for veggie gardens,
and while I didn't have the oomph to go full-scale on that,
I did poke a few sunflower seeds into one of my burlap-wrapped buckets
to see how they would do.

I'm going to go crazy with these next year!
I'll plant them in waves, so I'll always have sunflowers.

These are Lemon Queen sunflowers, btw, from Renee's Garden Seeds.

Tuesday, July 3, 2012

Begone, Tacky Topsy-Turvy Planters!

Back in this entry I gave a peek of my cool-looking burlap-covered buckets.

Now whooooooo's ready for a tutorial?!

It started out when I saw this pin on Pinterest:


Here's the original post, BUT
...it's in another language.  One with umlauts.
So even if there was a tutorial there, I couldn't read it.

SO.

I kept looking at at the photo, trying to figure out the dimensions of the "bag" these
buckets were in,  when I had a revelation:

it's not a bag at all!  It's a TUBE!

Which means that making one is super-easy, even if you don't sew a bit.

On

to

the 

tutorial.

To start with, you'll need a bucket.  If you don't have an old detergent bucket,
places like Home Depot sell five gallon buckets for about three dollars.


I also heard that doughnut shops get their shortening
 or something in big buckets,
and will give you their empties.  
Let me know if that's true!


(I'm only here for the buckets.  Honest.)

I cut off the handles with a wire cutter; 
they wouldn't be accessible, anyway.


Don't forget to drill some holes in the bottom!


For your supplies,
you'll need to buy some rope or twine.  I got 1/4" sisal rope.


If you don't have a sewing machine, buy a tapestry needle
I got a size "13".

To figure out how much burlap to buy,
measure around the widest part, and add about three inches.
 I think my buckets were about 39" around,
 so I needed  at least 42" of  40" wide burlap.

If you don't have a measuring tape, just use a piece of yarn
or hold the fabric around and mark it with your pinched fingers!
That's what I did the first time.

Sewing info!
Fabric usually comes in widths of 40" or 60".
  You'll be using the 40" wide.

Get a little extra for wiggle room, though; 
a yard and a quarter would be a good amount.

You might want to cut the fabric a little longer at first, 
to make sure it fits right.
It's a lot easier to tighten up the tube
than it is to pick out the seam and make the tube bigger.

 You want it to be snug, but not too tight.

Now you're ready to go!

To make a nice edge to cut/sew, pull a thread out of the burlap
ACROSS the width of the burlap...


...then cut along that empty space. 
 Repeat the thread-pulling/cutting at your desired width.


Now fold the rectangle in half so those CUT EDGES are together.

^^^^^ This is the cut edges, together. ^^^^^
You're going to sew along here.

If you have a sewing machine, go to town!
If not, it is SUPER EASY to just sew with your big fat tapestry needle.

What should you use for thread?
Why, you can just use that thread you pulled out for your cutting line!
If it broke, just pull another one off the edge.
Sew about a half inch away from the edge. 
(I used a bigger seam here; you don't need to.)


Once you've sewn along that edge, 
you're going to FOLD the tube down on itself,
so the seamed part is on the inside.


This is how it will look on the top.


Now you have a tube, a couple inches bigger around than your bucket,
and several inches longer.
The top of the tube is the folded edge,
and the bottom is the two other "loose" edges.


Take that tube to your bucket, 
and pull it up like you're pulling on a pair of comfy jeans.
Have the nice FOLDED edge on the BOTTOM.


Once the tube is pulled up,
 roll it down a few times for a decorative folded edge.


Break out your rope/twine...


...wrap it around a couple of times, and tie a bow.


As the Frenchies say,

VOILA!


A couple of tips:
the first time I did this, I gathered the bottom and put it underneath.


AAAAIIIIIEEEE!!!!


The water wicked up and made the burlap all moldy.  Yuck!

So don't do that.  It looks perfectly fine to just have the edge of the tube even with the bottom of the bucket.

Also, put that bucket up on bricks or something!  It helps with drainage,
and will keep the moldy thing from happening.

Okay.

ALL DONE,
I thought.

But...
you know how when you fix up one area of your house...


the rest starts to look extra-shabby in comparison?


Yeah, that's how I started to feel about those icky,
 faded-green Topsy-Turvy planters.


Anyhoo, in a flash of BRILLIANCE,
I realized I could do the same burlap thing with them!!

The only thing different is I used less burlap.


It was a bit trickier with the Topsy-Turvy
I was using in the way it was actually designed to be used,
since I had to pull it over the top where it was hanging from a hook.

But I asked the Sweet Man to hold it up,
and I slipped the tube over the top.


I did gather the bottom edge on the Topsy-Turvy
that had the tomato plant growing out of the bottom;
the green lid thingy meant that I had to make the tube pretty big.
It looked way too baggy before I gathered.


Lookin' good, yeah?


Friday, June 15, 2012

You May Call Me MISTRESS Gardener

I adore nasturtiums.


 They belong to the category of flowers that used to be labelled "thrifty":
flowers such as geraniums and marigolds and sunflowers
that can easily be grown from seed and aren't too picky about the soil.

 I've read that they're good for planting next to vegetables,

BUT

my raised-bed veggie garden has soil as rich as chocolate cake...


... and that's not a good match for nasturtiums.  
The growing advice for these bright flowers, after all,  is
"Be nasty to nasturtiums."

The saying means that rich soil and plentiful water will
give a gardener lots of green leaves but not many flowers.

So I decided to make a bed-within-a-bed for my nasturtiums.

I started with a plastic nursery pot...


and buried it in my bed within an inch of the top.


I got some "gardening sand" from Home Depot...


and mixed it in about a ratio of about one part sand, two parts soil.


I filled the nursery pot,
then moved some seedlings from another pot into their new, lean beds.


Do you see all that space around the new seedling?
Yeah, that didn't last long, once the zucchini took over.

Next year, the zucchini are banished to their own pots.

BUT!  The nasturtiums that fought for space are flowering,
which means their new beds -- and soil -- are working out just fine.