Monday, March 19, 2012

Dig This Crazy Hep Cat

A couple years ago, I made some Christmas bunting for my Etsy store that I thought was
HI-LAR-I-OUS:


Get it?  Because at Christmas, sometimes you're Merry
but sometimes you're just Meh.

However, the buying public at Etsy wasn't as interested, and I think I sold a whopping...

...zero.

But, yay!  Someone contacted me for a custom string of this bunting,
with an interesting idea.
Instead of Christmas bunting, she wanted something anime/chibi.
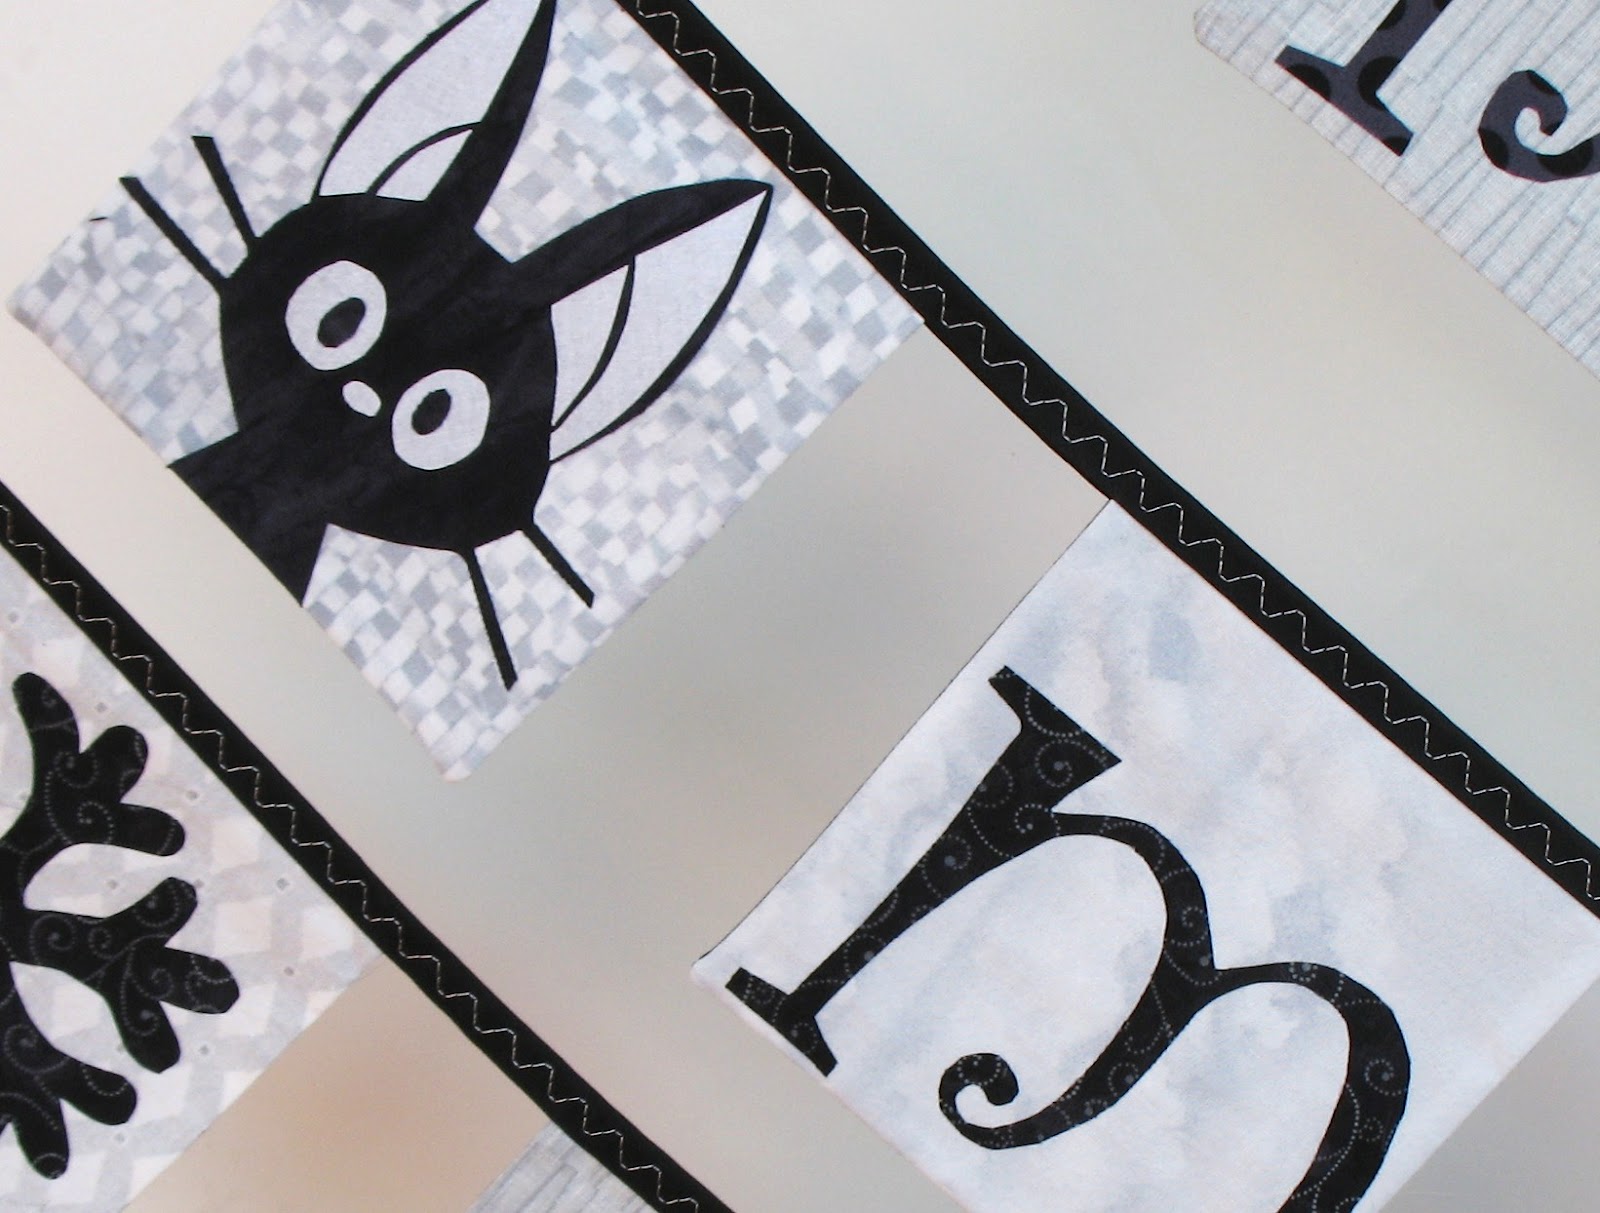
We agreed that the delightful Jiji from Kiki's Delivery Service would be perfect.

So, would y'all like a tutorial on how to make bunting? 

You're in luck, because I'm in a tutorial-making mood!

What You'll Need

HeatNBond, UltaHold
fabric
thread
extra wide double fold bias tape, 1/2 package
sewing machine, rotary cutter or scissors, etc.

Instructions:

The finished squares will the 6" x 6", so the images need to fit inside this.
I printed out the letters in Curlz MT*, and since the images need to be flipped,
I turned the paper over and traced the letters on the back.

*I know some people find Curlz unbearably twee, but I like it.  Sue me. 
I also use Comic Sans on occasion, Haters!!


I put my traced letters under the HeatNBond ULTRAHOLD, and traced the letters onto it. Following the instructions I bonded the HeatNBond letters to the back of the black fabric.


I did the same with a Jiji graphic I found, and then carefully cut them out.

The white is layered on the black, btw.  It was pretty easy to do.

Next, I cut five each 6 1/2" squares of the different gray fabrics
and the backing, black fabric.
(You need the extra 1/2" for the seam allowance.)


Tip!  Check the back side of fabrics. 
You can see that this busy fabric wouldn't work as well as its back side does.


I bonded all the letters and Jijis, making sure I liked the ending placement of the fabrics.
See?  It's busy-plain-busy-plain-busy for the gray squares.


I made sure I didn't go into the seam allowance, except for the bottom of Jiji.
If I made him "float" above the bottom, he would have ended up looking decapitated.
So I lined up the bottom of the image with the actual bottom of the raw edge.

To sew, I put the black and the decorated squares face to face, and sewed down the left, across the bottom, and up the right.  The TOP should be open.

I turned the blocks right side out, and ironed them.
I use a big fat knitting needle (size 15) to poke into the corners, to make them square.


I could make my own binding, but I'm lazy.  I buy this stuff, instead.
For this project, I only needed half the package.


The inside cardboard works very nicely for the next part of this project.  For longer strings, I use it as is, but for this project I trimmed it slightly down to 2" wide.

After ironing the binding (on medium heat -- it's polyester) I put a pin at the mid-way point.
I did the same with the middle letter, and eased it up between the two folds.


I then went to the right and the left, using my cardboard guide to pin the other letters.


Time to sew!  I like to use Sulky rayon thread and a serpentine stitch.
It's pretty easy to make the squares nice and straight up in the binding.

Finished!!


I think Jiji would approve.


Saturday, March 17, 2012

SIGH...

I made a freakin' AWESOME Gryffindor Snitch quilt to sell in my Etsy store.


Doesn't that whet your appetite to see the whole quilt?

Unfortunately...
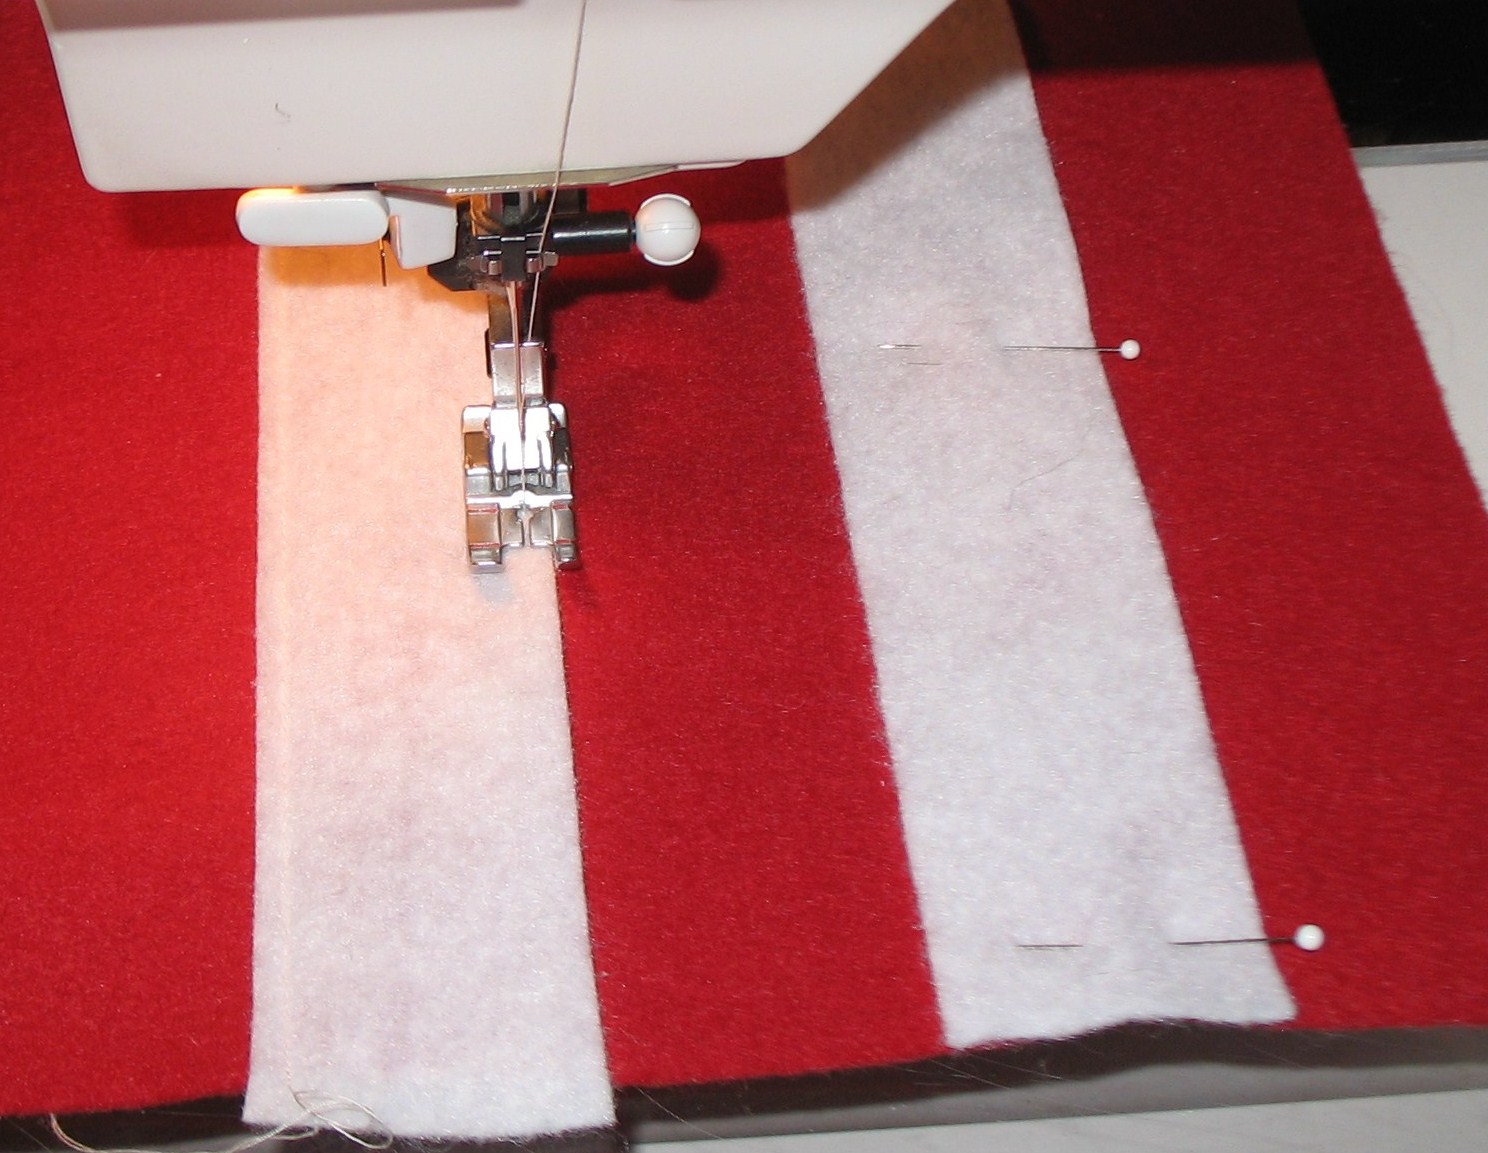
...when it was time to photograph the quilt, I noticed something was a little off. 
I was having a hard time getting the quilt to "square up" in the camera viewfinder. 
Sure enough, when I held the top edge up against the bottom edge,
I realized that the bottom edge was a full FOUR INCHES shorter than the top edge.


ARGH!!!!

So, I guess I'm going to just keep this one.

And I'll be a heck of a lot more careful when I make another quilt with horizontal stripes.

Thursday, March 15, 2012

Woooooo!!!!

What's one of the best parts about working for the schools?


Spring Break!!

I believe I'll celebrate with a cookie.


Saturday, March 10, 2012

For The Simple Man, Who Likes Pretty, Dark-haired Women And Breakfast Food

As I promised in my last post, here's the tutorial for making a Pawnee Rangers hat.

Now, this isn't fancy, as befitting a man whose troop has only one guideline:


So it's TOTALLY DOABLE by even those who don't possess the crafty gene.

You will need:

a khaki-colored cap
ConTact paper
acrylic paint 
craft knife
small, spongy brush or stenciling "pounce"
 printer 

Instructions!

Print out "Pawnee Rangers". 


(Copy the image, and scale it to the size that fits your hat.)

FLIP IT OVER, and trace the back.


Tape down the paper, and tape a piece of ConTact paper,
with the peel-off paper on the TOP, over it.

As you can see, you should be able to read the blue words on the ConTact paper.

Now, carefully cut out the letters with your craft knife.


Don't worry about the insides of the letters like "A" and "P".  You'll fix those later.

After cutting out all the letters, peel off the backing paper
and stick the ConTact paper on your hat.


Remember all those inside bits for the "A" and "P"?  Don't bother saving the originals.  
Just cut out new bits from the leftover scrap ConTact paper.  It's easier,
especially if you first peel off the backing paper.

Once you have the ConTact paper all smoothed down, VERY CAREFULLY sponge the green acrylic paint on.  Don't brush it across the paper; dab it on with your spongy pounce.


All painted?
Then lift off the ConTact paper and behold the glory of your Pawnee Rangers hat!


Stick that bad boy on your head and you're ready to camp!


Bonus!

If you're interested in making the Pawnee Rangers patch, here's mine:


Instead of printing out the image like I did for the Pawnee Goddess patch -- I couldn't find a Ranger image -- I used Heat N Bond UltraHold and cut out the trees, fish, etc. and layered them like a collage.  I found this guy's handsewn patch to use as a reference.  I used a Pigma pen for the green outer words. (A Sharpie will bleed.)

I didn't have time to zig-zag the outside edge -- my husband decided at the last minute he wanted to join me in Costume Finery -- but it still looked pretty cool.  Don't you think?


Thursday, March 8, 2012

Hear My Womanly Roar

Y'know how there's people who have these weird, obscure costumes at Halloween,
and when you ask them what they're dressed as,
they launch into a long, convoluted explanation of every aspect of the outfit? 

And you want to say, Can't you just be a sexy kitten, or something?


Yeah, I'm that annoying costume person.

But I don't mean to be irritating!
I just get excited about an idea, then have to run with it.

Case in point:  Tuesday I went to the Parks and Recreation panel for PaleyFest 2012.

I adore Parks and Recreation: it's not only funny,
but it's also the most feminist show on TV.

Both those aspects were on display in a season four episode titled "Pawnee Rangers",
in which  lead character Leslie Knope (played by Amy Poehler) led a
 progressive troop of young girls called the Pawnee Goddesses.


I loved the episode, and I LOVED THE OUTFIT!

So, I decided to make a Pawnee Goddess costume of my own. 
The beauty of wearing it to PaleyFest is that I wouldn't have to explain to a single person what I was wearing!  We would all have a common frame of reference!

Now, how to make it?

TO THE INTERNETS!!!

First, I found a very helpful tutorial by the lovely and talented Heidi of Hands Occupied.


Thanks, Heidi!


Next, I found a graphic for the all-important Pawnee Goddess patch.


Thanks, Andrea!

After making the vest and buying some pre-made patches,
I set out to make some patches of my own.

Interested in doing the same?


You will need:

white fabric
small scraps of felt
a color printer
Heat N Bond LITE
Heat N Bond ULTRAHOLD
thread
a half-way decent but not necessarily fancy sewing machine

Instructions!

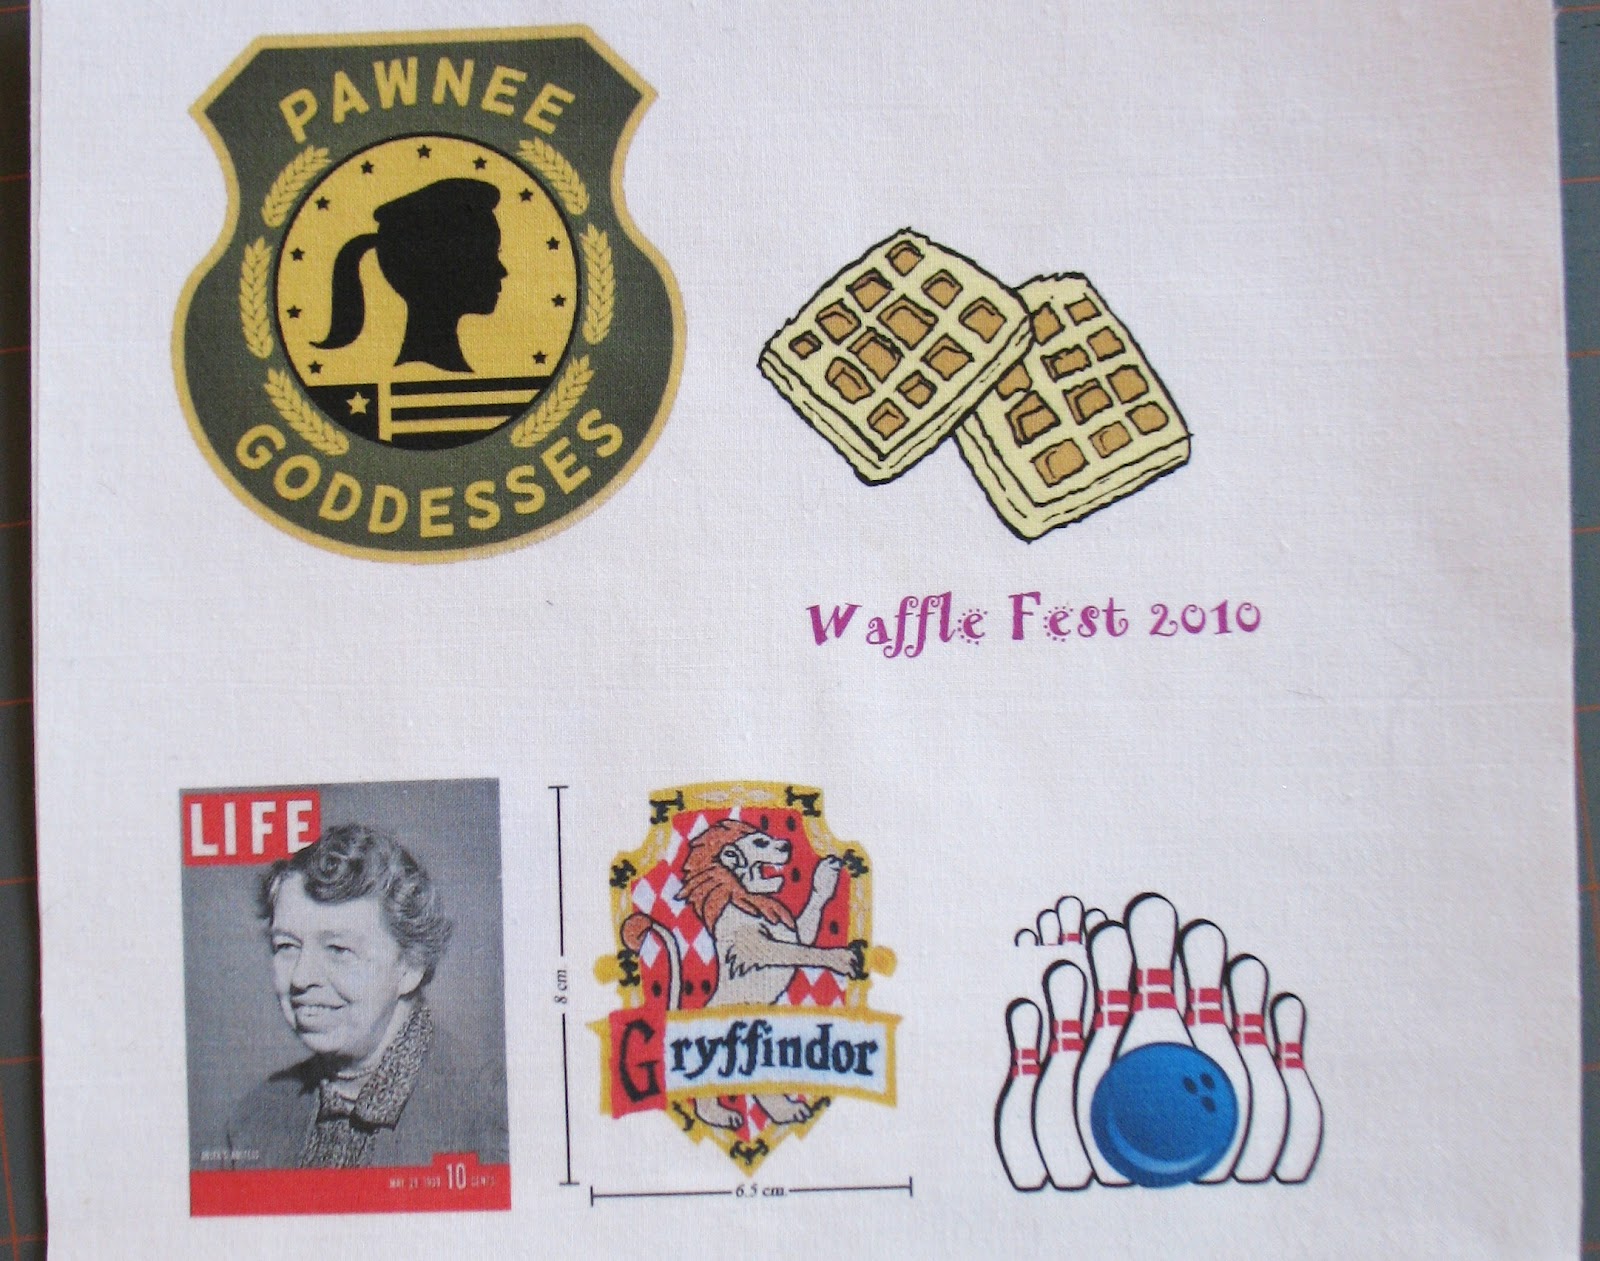
First, I put all my graphics into one page of a Word document.

(You don't have to print them out.  This paper is just for a visual.)


Next, I got some Heat N Bond.

I STARTED WITH HEAT N BOND LITE.

I was yelling at you with caps because if you use the UltraHold,
you will not be able to sew through the patches, and You Will Be Sad.


I cut an 8 1/2" by 11" piece of Heat N Bond Lite, and the same size of bright white cotton.


I followed the directions and bonded them together.


Next, I ran this bonded fabric through my printer. 
I'll be honest:  sometimes this works great; sometimes my printer gets into a snit
and jams a little.  I would say that if your printer can handle cardstock,
it should be okay with this bonded fabric.

I cut out the images with about an eighth of an inch white border around the edges.


I peeled off the Heat N Bond backing, and bonded the patches to coordinating felt.
I had a scant eight inches of felt around the edges.

I AM YELLING AGAIN TO SAY THE FELT NEEDS TO MATCH THE COLOR OF THREAD YOU ARE GOING TO USE, SO PLAN AHEAD!


Here they are, all nice and cut out.


My plan was to do a buttonhole stitch (the satin-stitch kind) all around,
covering both the white border and the felt.

I started with the rectangular patch because I thought it would be easier.

MISTAKE.

 Those stupid corner were impossible, and the tight, wide buttonhole stitch kept getting caught up in the foot and machine.


So, Eleanor doesn't look great.

For the next patch, I decided to try a zig-zag stitch,
and make it only medium wide ("3" on my machine),
rather than really wide (The "5" on my machine.)

I also went around more than once, to fill in the gaps, and I made sure
to cover both the white border and the felt.


Better!

For the third patch, I really rounded the corners.  It made it much easier.


Lookin' good!

I got cocky, and tried an intricate Gryffindor patch.


Oy.  Those corners were a pain.  I should have found a more rounded image.

Also? 
DON'T USE STEAM!

It made the colors run a bit.


Now, it was time for the most important patch of all:

The Pawnee Goddess patch!

I put everything I learned together on this one.

I rounded the corners.

I did a narrow zig-zag for the first time around, then the widest zig-zag after that.

I went around and around until all the white border and felt were covered.


IT'S BEAUTIFUL!

To attach them to the vest, I flipped them over, and used the Heat N Bond UltraHold.


I peeled off the backing, and ironed those suckers to the vest.


The payoff to all my work?

I got to ask this lady a question at the Parks and Recreation panel...


... AND, I was hailed as Queen of the Dorks at the event.


Which was pretty dang cool.

Next up:  How to make a Pawnee Ranger outfit!


Thursday, March 1, 2012

A Book Lover's High Holy Days

March 2nd is Read Across America Day, y'all! 

And in honor of the good Dr. Seuss' birthday,
I crafted a jaunty little striped hat.

But first of all, why didn't I just use the hat I already had?

BECAUSE THE FREAKIN' THING IS HUUUUUGE!


It bobbles around on my head and annoys me all day long.  It would be fine for a readers' theater or something, but not for a whole day in a third grade classroom.

So I started with two pieces of 9" x 12" felt, my reference book,
and my trusty old-school calculator.


(I have had that calculator for more than thirty years.  I'm ooooold!)

I cut the red felt into an 8" by 9" rectangle.

I cut two 9" by 1 1/2" strips of white.

I cut a red circle 3 1/4" across. 
(Ignore the red 3 3/4" on the circle!  My math failed me! It's wrong!)

With the remaining white, I cut two identical ovals as big I could, 
and cut a circle out of the middle of one about 2 1/2" across.

(Honestly?  If you have extra white felt, make your ovals bigger than mine.  They would be easier to sew, then.)


I sewed on the white strips.


Then made a tube, making sure the white stripes matched up.

I sewed the red circle on one end.


And then sewed the white oval with the circle cut out to the other end.


I stuffed that sucker with stuffing.


And then sewed the other oval to the bottom.


NOT SHOWN: 
I also hemmed on the white oval right next to the tube, through all the layers.
Otherwise, the bottom was too poofy.

I made two slits, and threaded a headband though them.
I hand-sewed around the opening, to keep the hat from slipping around.


Now THAT'S a hat I can rock all day long!